

Due to the use of the ball joint and the normal movement of the steering and suspension parts, the joint will play excessively, which will cause the steering wheel to vibrate while driving and popping and cause problems like clicking and pushing while driving.
Here we will discuss how to remove the ball joint from the upper control arm.
How to Remove Ball Joint from Upper Control Arm: Step-by-Step
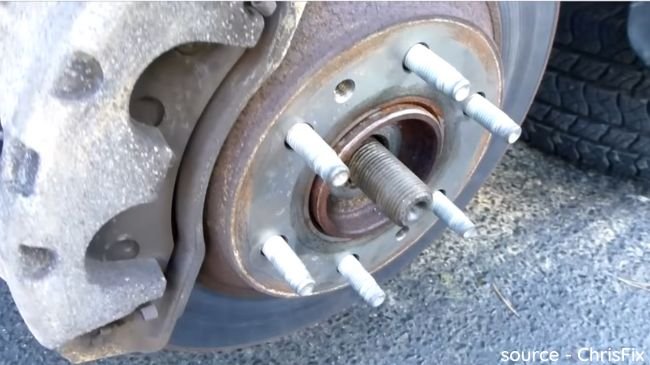
The car must be moved off the ground and placed on the jack stands. You also need to remove your wheel for easy access to the ball joint. Ball joints usually have two styles, one face down and the other up.
Different locations of the breaker bar are required to undo. All ball connections have a taper fit that must return to the former. This guide is for the suspension strut style in which the coil spring is tied to the strut.
If this work is done in live spring style of suspension, the upper control arm must be supported using a jack, and the ball joint must be lowered slowly after returning to the undo.
A live spring suspension is a spring that is pressed against the upper control arm. This spring is strong enough, so be careful to deal with this spring.
1. Remove the Cutter Pin
A quota pin is used to keep the connection between the ball joint and the control arm to loosen the nut. Castle nuts have 6 places where the quota pin can prevent the nuts from moving.
Remove the quota pin from the casting nut using a pair of side cutters.
2. Loosen the Castle Nuts
Use a wrench or socket to loosen the nuts clockwise. These nuts can often be fairly tight. So make sure that the socket or wrench is carefully placed on top of the nut before applying the nut pressure.
Do not open the nut completely. When undoing the joint, place the studs on about three turn studs to protect them.
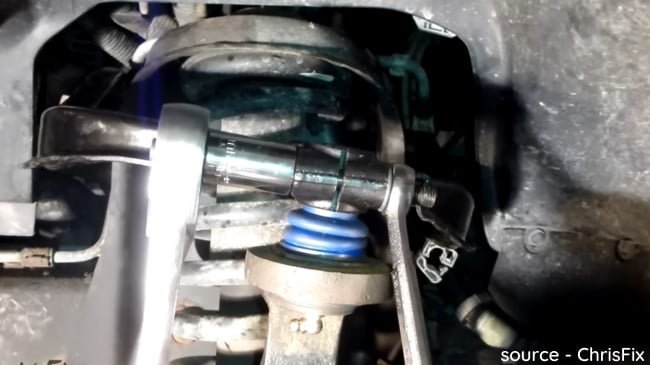
3. Release the Ball Joint Tapper
You have to use a large pry bar. Then intersect it between the upper control arm and the spindle bulkhead. Now Place the bar in a tight place. You need to apply pressure to undo the joint.
Apply the force to release the upper control arm bulkhead ball joint tapper. It may take more than one hammer strike to release the ball collectively.
Apply extra pressure to the PC bar when using a large hammer to strike any auxiliary. It will mourn the joint loose, and you will feel the pop when it is released.
Once the ball joint is complete, remove the nut from the ball joint and continue the repair.
Use the wrench to turn the joint nut of the bottom ball clockwise after removing the quota pin. The steering wheel will turn on during this step. However, if the nut is loose, do not remove it at all.
Leave the nut on the ball joint stud for a few turns. This will protect the threads after the joint is disconnected.
Repeat a large piece while applying downward pressure between the spindle bulkhead and the upper control arm.
Use a hammer to shock the spindle bulkhead while the ball is pressing on the joint. Keep giving it several hits of the hammer.
The ball joint will have a noticeable gap between the dust boot and the spindle. The gap between the ball joint nut and the spindle also bridged. Now your ball joint is ready to remove the nuts.
4. Disconnect the Control Arm
Hold the spindle steady by holding the upper control arm. Pull down the upper control arm to disconnect it from the spindle. In this way, you can remove the ball joint from the upper control arm.
